Close
To implement service for users, you have to Associate orders with those users. In this section, we will learn about orders.
|
Sl No |
Description |
|
1 |
Each order has a unique order number which starts with HAMARACLOUD and followed by number of digits. |
|
2 |
One can view details of the order by following these steps |
|
3 | |
|
4 |
Click on Invoices in left hand side. That will display the following  |
|
5 |
Your orders will be displayed in the Invoices grid. If there are too many orders, you can input the order number in the search field (displayed below) and press Enter  |
|
6 |
You can get more information about an Order by clicking on the  icon in the first column of order. icon in the first column of order. |
|
7 |
To get details about Services present in an order,
 |
|
8 |
We can see that the order has 3 services. Type of service is identified in the Service column. Number of units of the service is given in the Units column. Number of free units (which have not been given to any users yet) is given in the Free Units column. |
|
9 |
If a Service has zero Free Units, it means that the service has been fully implemented. |
|
10 |
Click on the Service that has non-zero Free Units and which we want to provide to a user. That will display the grid as follows  |
|
11 |
Click on Associate Users to provision the service for users. To provision service for a single user, proceed to Associate Order - Single section. To provision service for users in bulk, proceed to Associate Order - Bulk section. |
To provision service for a user, service has to be associated with the user. Follow these steps for the same.
|
Sl No |
Description |
|
1 |
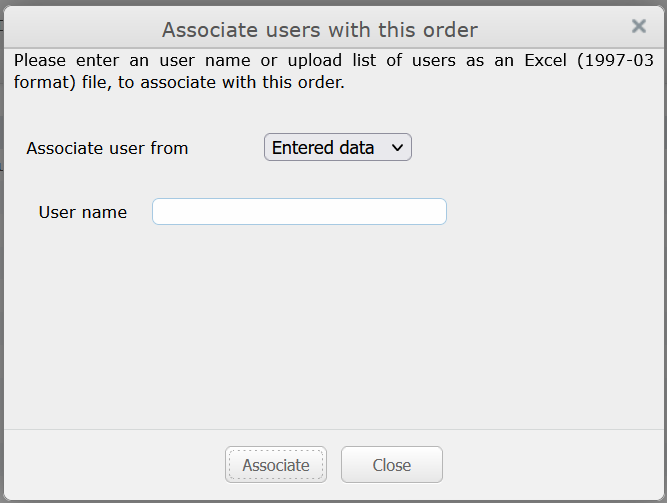
Select the service to provision and click on Associate User button. That will display the following  |
|
2 |
Select Entered Data for Associate user from field. |
|
3 |
Enter the email address of user (whom the service is to be provisioned) in User name field. |
|
4 |
Click on Associate button. |
|
5 |
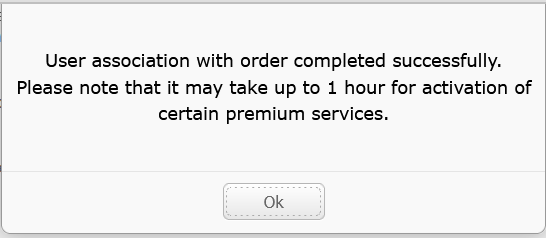
The service will be provisioned for the service and following will be displayed  |
|
6 |
The user can now avail of HamaraCloud Services. Proceed to Domain Configuration to finish the process. |
You can provision services for multiple users by creating a spreadsheet and uploading the same. Follow these steps for the same
|
Sl No |
Description |
|
1 |
Create a spreadsheet with two columns. |
|
2 |
For each row, the columns should have the following data. There should be no header row. The first row should contain data of first user. Second row, data of second user and so on... |
|
3 |
Column 1: Should have the username of user to who the particular service has to be provisioned. username will be the same as the email address of the user. This is required. |
|
4 |
Column 2: units should have the number of units of services the user has to be provisioned. For example if you provision 2 units of HamaraCloud UniversalMessaging Small Business Edition (1GB) to an user, she will end up with total of 2GB of Email storage space. This field is required and should be an integer greater than zero. |
|
5 |
Make sure that the spreadsheet does not contain more than 1000 rows. If you need to create more than 1000 users, create multiple spreadsheets of 1000 users each. |
|
6 |
Save the Spreadsheet in Excel 97-2003 Workbook (*.xls) format. |
|
7 |
In Services grid, select the service to provision and click on Associate User button. That will display the following  |
|
8 |
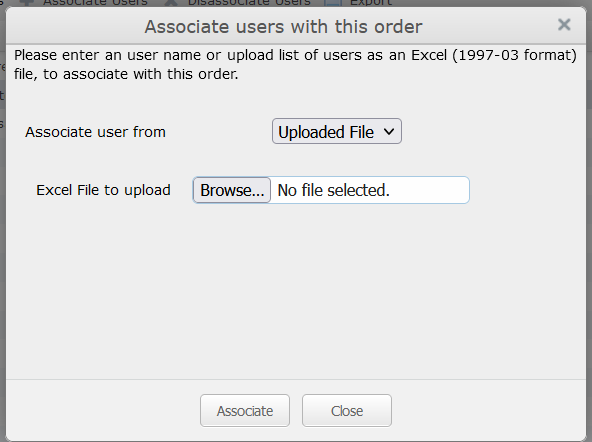
Select Uploaded File from Associate user from field. That will display the following  |
|
9 |
Click on Browse... button and select the created spreadsheet. |
|
10 |
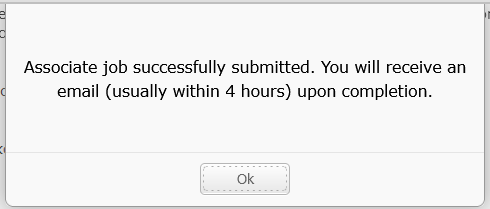
Click on Associate button. The job will be submitted for execution and following displayed  |
|
11 |
Click on OK. Old window will be displayed. Click on Cancel to close the Window. |
|
12 |
Upon successful execution, an email will be sent with the completion status of the process. |
|
13 |
This will provision the services for the selected users. Proceed to Domain Configuration to finish the process. |


